Windows 7: How to install an Epson printer using the Driver Update Service
With the launch of Windows 7, a number of older devices will not have compatible drivers on the original CD that came with the product. However, a driver may be available via the internet. This article explains how to use the built-in Windows 7 update feature to install the most recent driver for your product.
|
Check the Epson website if a driver is available for your product. |
- Power on your printer or All-In-One and connect it to your computer via a USB cable. A notification box will appear in the system tray at the bottom right hand corner to inform you that a new device has been found.
- Click on the Start button followed by Devices and Printers, as shown below:
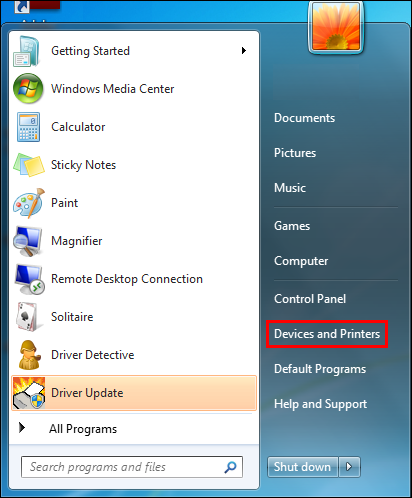
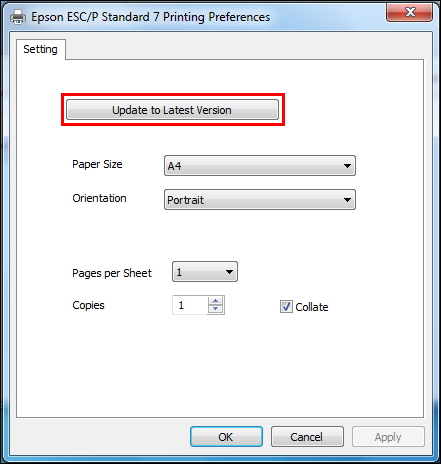
- You will next be presented with a list of installed printers. Right-click on the printer labelled Epson ESC/P-R or Epson ESC/P Standard then left-click on Printing Preferences in the menu that appears.
- On the new window that opens, click on the option that says Update to Latest Version.
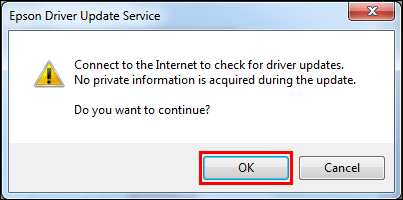
- Next, you will be asked to confirm that is OK to connect to the internet to check for driver updates. Click OK to continue.
- The software will now go online to check for the latest driver. If successful, a screen will appear informing you that a new driver has been found. Click on Yes to begin downloading the update.
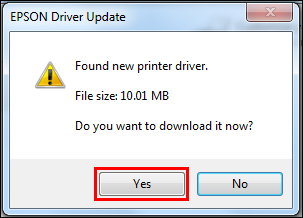
- The driver download will now begin. Once complete, the window below will appear confirming this. Click OK to continue.
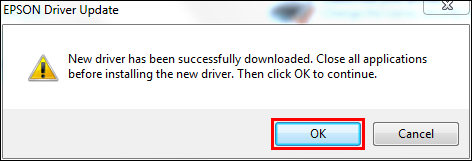
- On the new window that opens, ensure the correct printer name is displayed and then click OK to proceed.
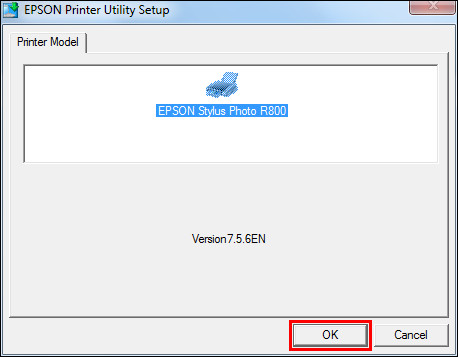
- Accept the licence agreement to continue.
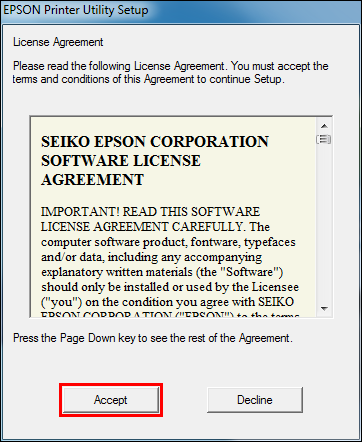
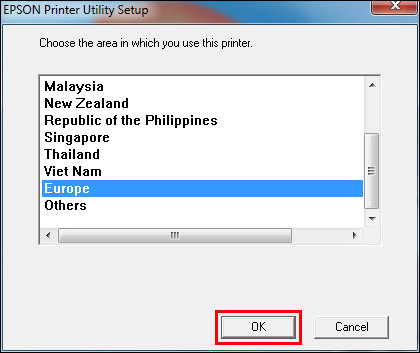
- Select the geographical area that corresponds to your location, then click OK to continue.
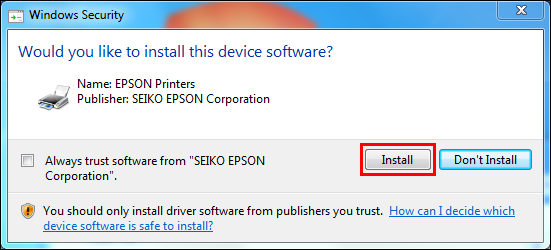
- On the next screen, click Install.
- When prompted by the screen below, ensure that the printer is powered on and connected to the computer via USB. If the printer is not detected refer to article: Troubleshooting Printer-related Communication Issues in Windows.

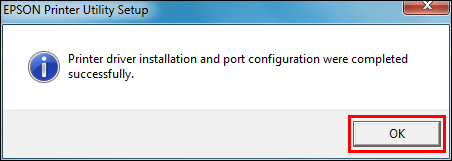
- Finally, a message will appear informing you that installation is complete. Click OK to conclude the installation process.
